OYLC Part III: Sorting Sets (Special Cases)

Welcome to Part III of OYLC (Organizing Your Lego Collection)!
This post covers how to sort a Designer or Creator set. For the other parts of this series, select a link below:
Part I: Sorting Bricks
Part II: Sorting Sets
Part IV: Storing It All

The simplest way to sort out a set is to build it. However, Creator and Designer sets pose a problem to this strategy. These types of sets include instructions for multiple models, and it is rare for one or a combination to use ALL the pieces. One way to tackle this problem is to simply build all the models one at a time to make sure you have the pieces for them, but this approach takes a long time and can cause you to miss some pieces. I have found that the quickest and most direct method is a hard inventory.

To take a hard inventory, find the inventory in the back of the instructions (or online if you don't have it) and lay out each type of piece one at a time. While this method is an unnecessary hassle for a normal set, it works wonders for Creator or other multi-build sets. Once you have laid out all the pieces you can find to the set, write down the ones you are still missing, so you can find or replace them later.

Once you have found all the pieces in the inventory, it is a good idea to build all the models one at a time after the fact. The inventories in the instructions sometimes have misprints, which you have to catch yourself. Misprints are more common in older sets, when the inventories were a new thing. You may also want to check your inventory against Bricklink, theirs are very reliable.
This is a picture of the inventory I took for my Deep Sea Predators Designer set (4506).
As I later built the models, I discovered I needed one piece that was not in the inventory.
Even with this setback, I was able to sort the set completely in under three hours.
Note that it will take longer if your pieces are not organized as directed in earlier segments.
If you or someone you know are in the process of sorting your collection, please take the time to read the other segments of this series (links are at the top). Good luck and Happy Building!

The Stellar Striker: A Lego M-Tron MOC

As with most of my models, this one has a bit of a back story. Unlike my other ships, which I build out of sets and then disassemble, all of the parts for this one came from a yard sale. I'm experimenting with buying lots of random pieces from yard sales and other outlets, so I can have a sort of stock resource for building permanent creations. That way, I won't have to worry about taking them apart to reorganize sets. This ship was one of the first of such models, a permanent creation which I will one day use to help fill a large layout I'm designing.

When I returned home from my first major yard sale acquisition, I dumped out my haul to assess my new inventory. I had scored several pricey minifigs (Davy Jones, for one), and a large pile of pieces that I thought were interesting or useful. Then, I decided I should take advantage of this new resource by building something. I enjoy "winging it" when I build, so I dove right in and started putting things together. This was one of the products of that endeavor, and my personal favorite.

This is the first ship I have built in the red, black, and trans-neon green of M-Tron from 1990. It is one of my favorite space themes, but I haven't worked much in it due to lack of resources.
The finished product. All of the pieces came from the same yard sale except the M-Tron pilot, which I had on hand.

As seen here, the front section is built around the base of a cannon from
a pirates set.

I accomplished a visually interesting shape with the diamond-shaped front
and curved rear.


I was satisfied with the result, so I used some of the remaining pieces to build another vehicle to go with it. This time I had to use the central piece with the logo from my own collection, but I didn't need it for anything else, so I can keep that one assembled too. This one has no name as yet, but it doesn't really need one.

It has enough trunk space to hold a few tools and one of the
signature magnet-topped boxes of the theme.
I had lots of fun with both of these models, and I plan to hit many more yard sales in the future so I can build more permanent ships. In the meantime, you might want to look out for Lego at yard sales in your neighborhood. It can be a great way to boost your collection in a cost effective way. Happy building!

The Cosmic Conqueror: A Blacktron II MOC


Having recently seen the Lego Movie (and yes, it is as good as they say), I kept thinking about Classic Space astronaut Benny's incessant exclamations of "Spaceship, spaceship, SPACESHIP!!!". So, as a result, I decided to go with it and build a spaceship.

 However, since my Classic Space collection is lacking (working on it), I decided to use Blacktron II since my resources were more extensive. Blacktron II is one of my personal favorite Space themes, and I had a wide pool of pieces to use from my various sets. I dumped out my entire BTII collection: the Galactic Scout, Super Nova II, Two-Pilot Craft, Allied Avenger, Aerial Intruder, and Alpha Centauri Outpost. After two days of building on and off, I decided it was finished, naming it the "Cosmic Conqueror" in accordance with the Blacktron II name formula of a space-related adjective followed by a somewhat menacing noun. I must admit, I surprised myself with the results.
The minifigure is provided for scale. The ship measures eighteen inches long
and fourteen inches wide. I used the large windscreen panel to accommodate a larger cockpit.

A front view

An overhead view displays the triangular shape common among classic sets.
I departed from the spheroid-cockpit design that was characteristic of Blacktron II
because it was impractical for a ship this size.
 For this ship, I started with a sturdy, multi-layered base and worked my way up. I used several unorthodox connections and unusual angles to get the desired effect. As a result, I have plates, antennae, and even monorail supports sticking out on interesting diagonals.

The Cosmic Conqueror has seating for five: three in the main cockpit and
two others in small side cockpits.

One of the side cockpits


An underside view shows the jets and landing gear. The wheels of the landing gear
stick out only just beyond the jets, so it rolls freely but preserves the image of the
underslung jets. Notice also the hollow spaces on either side of the "spine" of the ship
near the back. These make the ship very easy to pick up and hold, which is a plus.

This shot shows the impressive array of engines I managed to stick on the back. The top engine of the central triangle
formation is suspended by robot arms, making it adjustable.

This gives a better view of the positioning of individual engines, including the
sideways faceted panels.
These shots display the lights from the 9V brick that came with the Alpha Centauri Outpost. Whenever I build a
sufficiently large Blacktron model, I can't resist incorporating the lights.

This angle provides a good view of the many components jutting out from
the heart of the ship.
I enjoyed building this one immensely. It's the largest spaceship I've ever built, and, I have to admit, one of the most well done. It's extremely sturdy, interesting to look at, and stays true to many signature qualities of Blacktron II. If you've never tried a large spaceship before, I recommend trying one to see what you can do. In the meantime, Happy Building!

Airplane Meets Cement Mixer

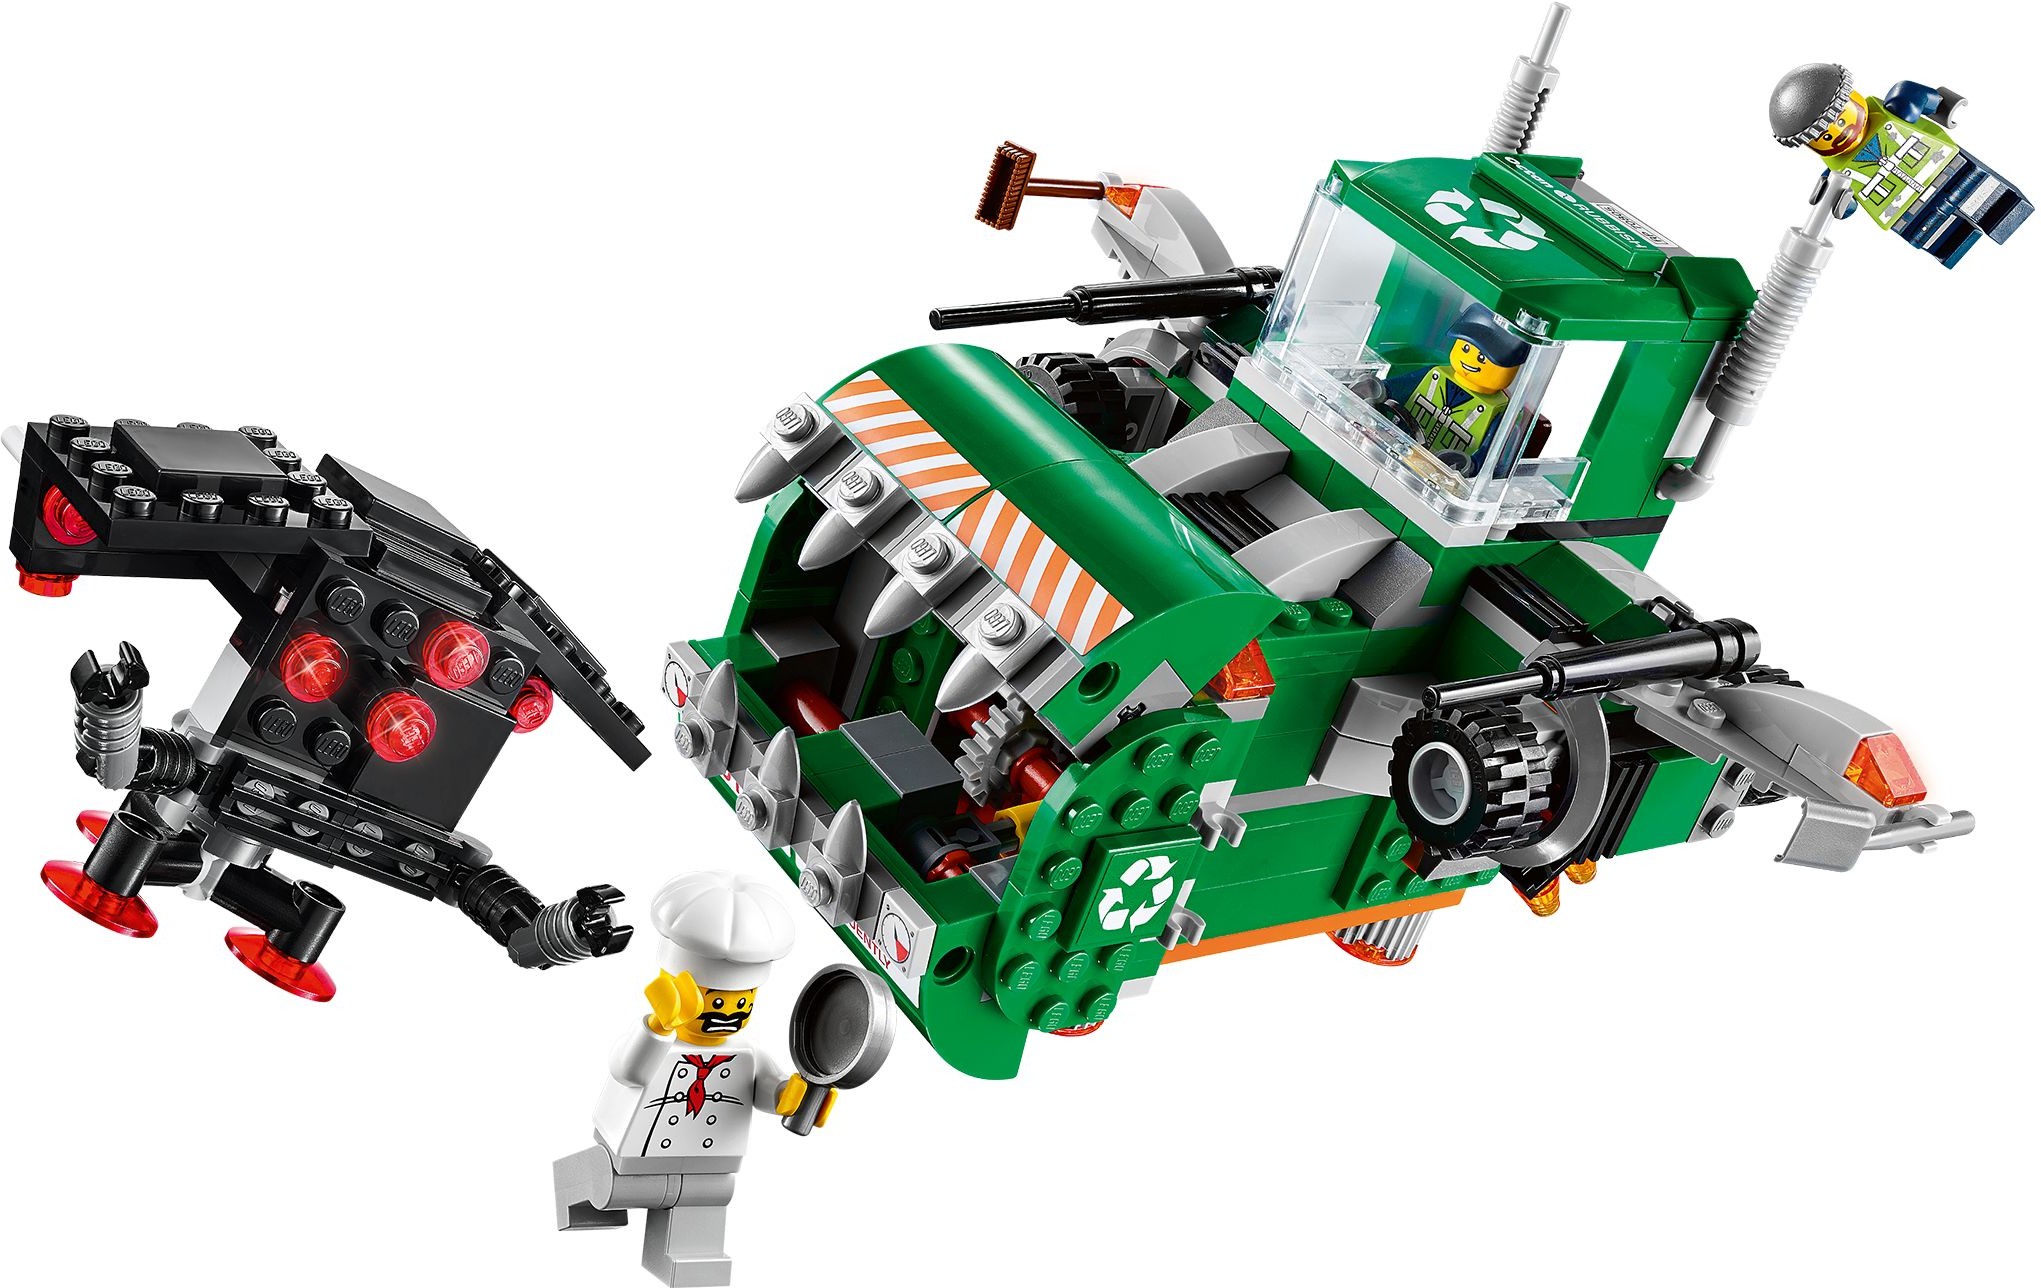
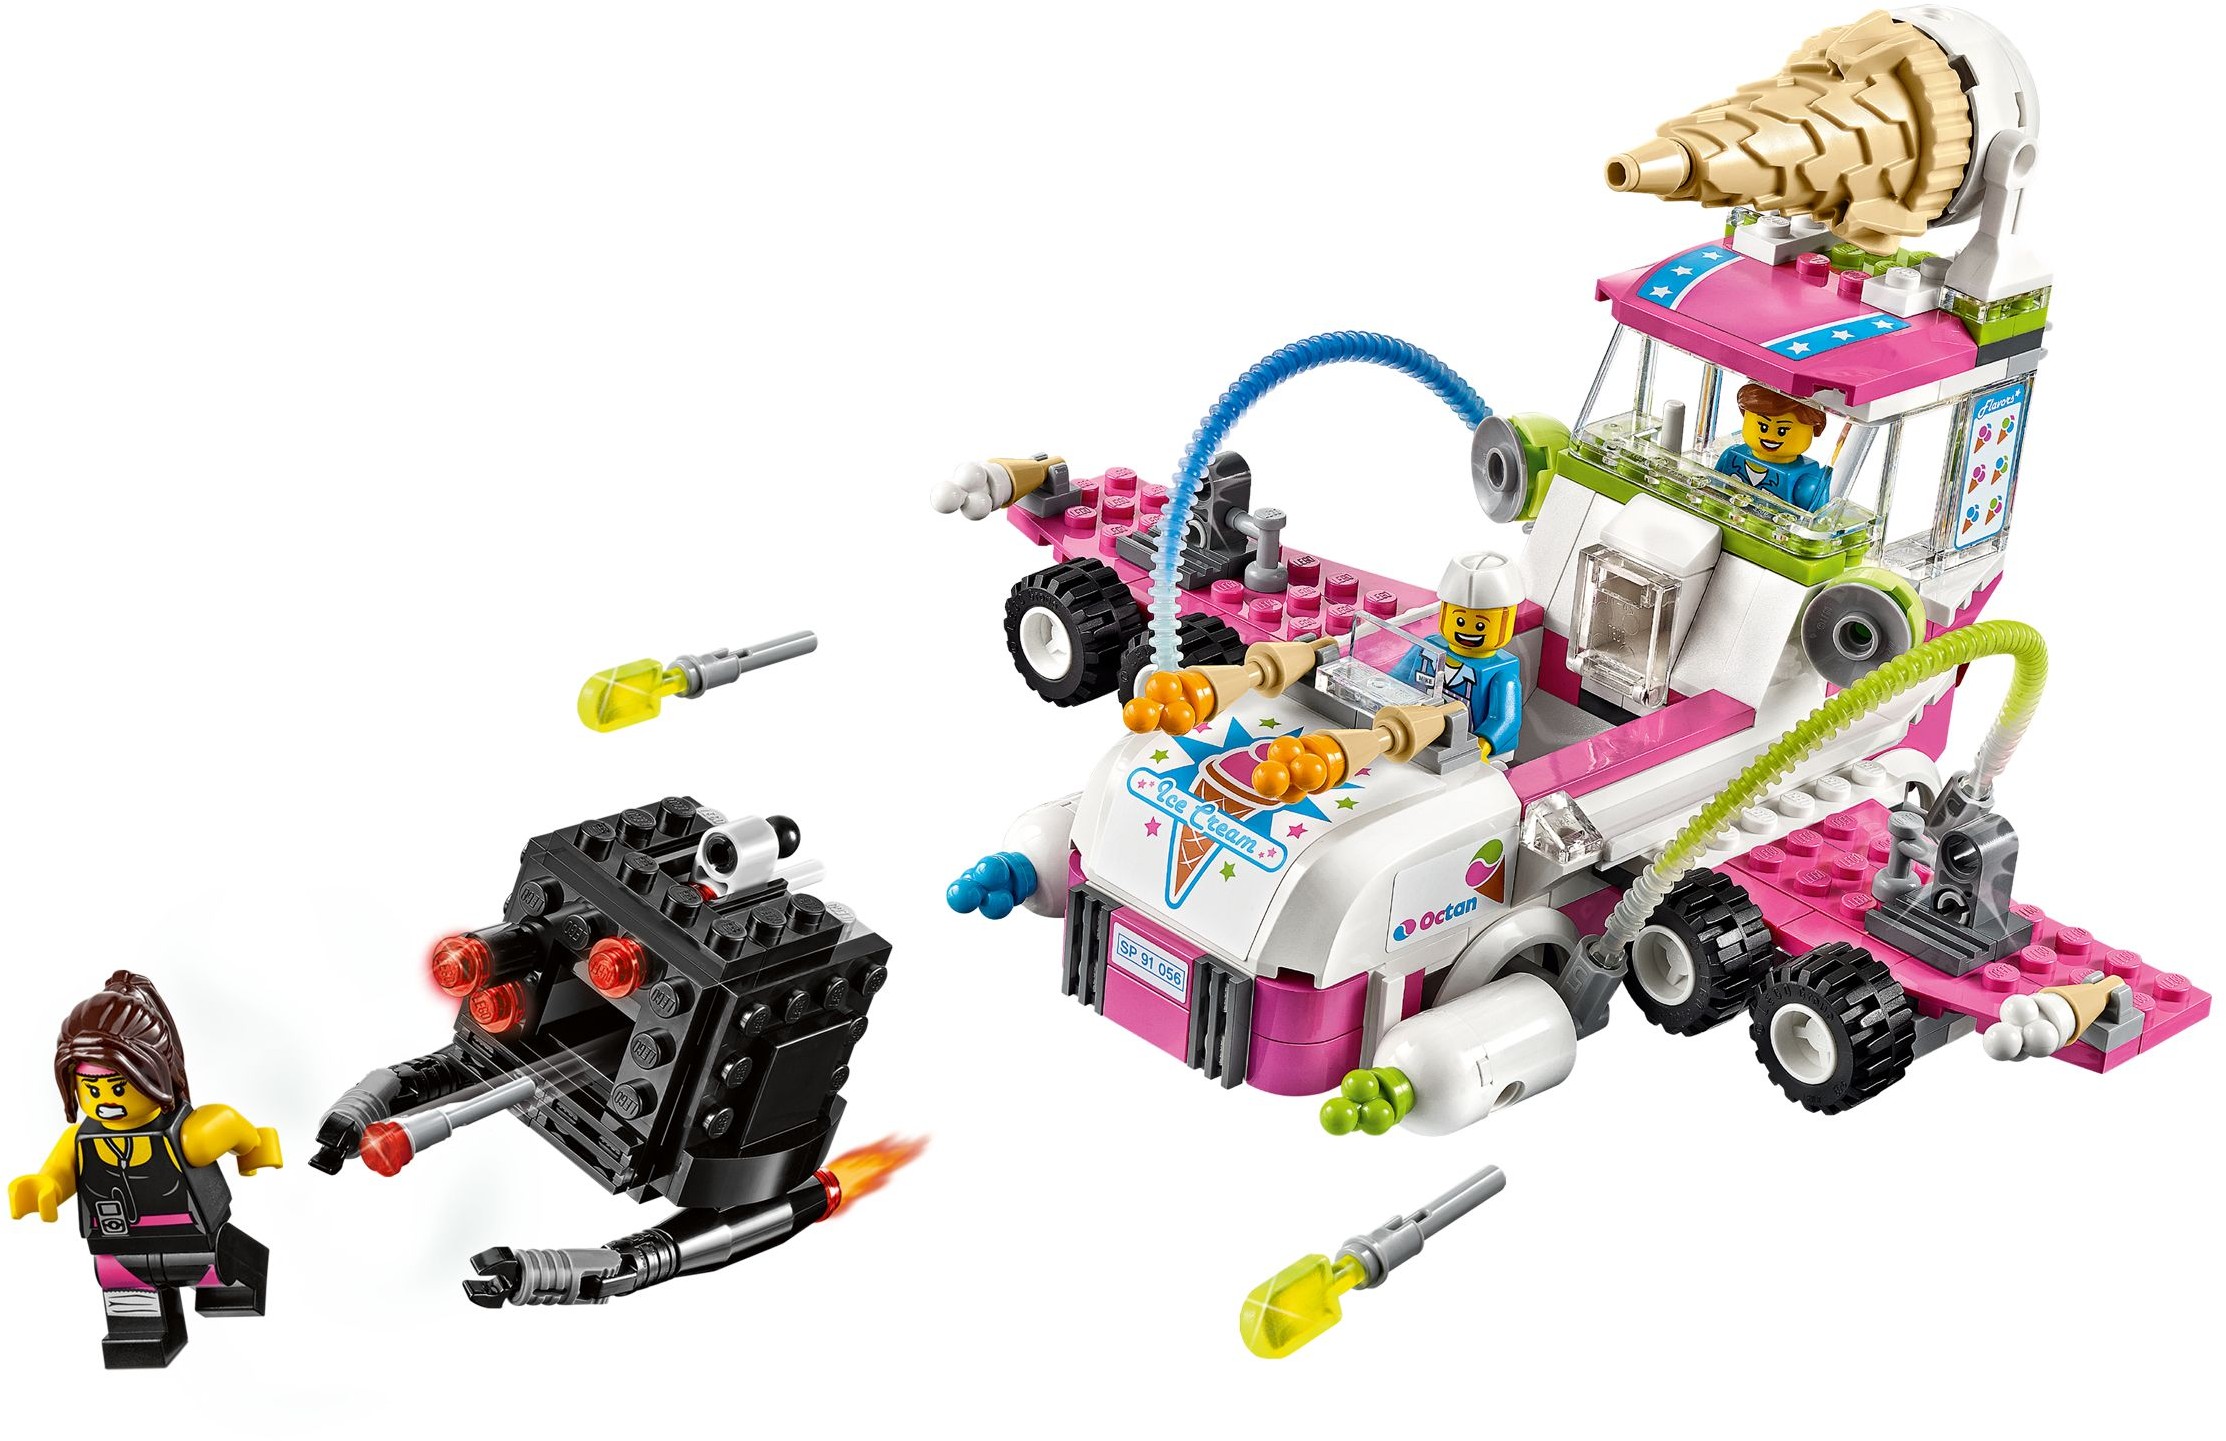
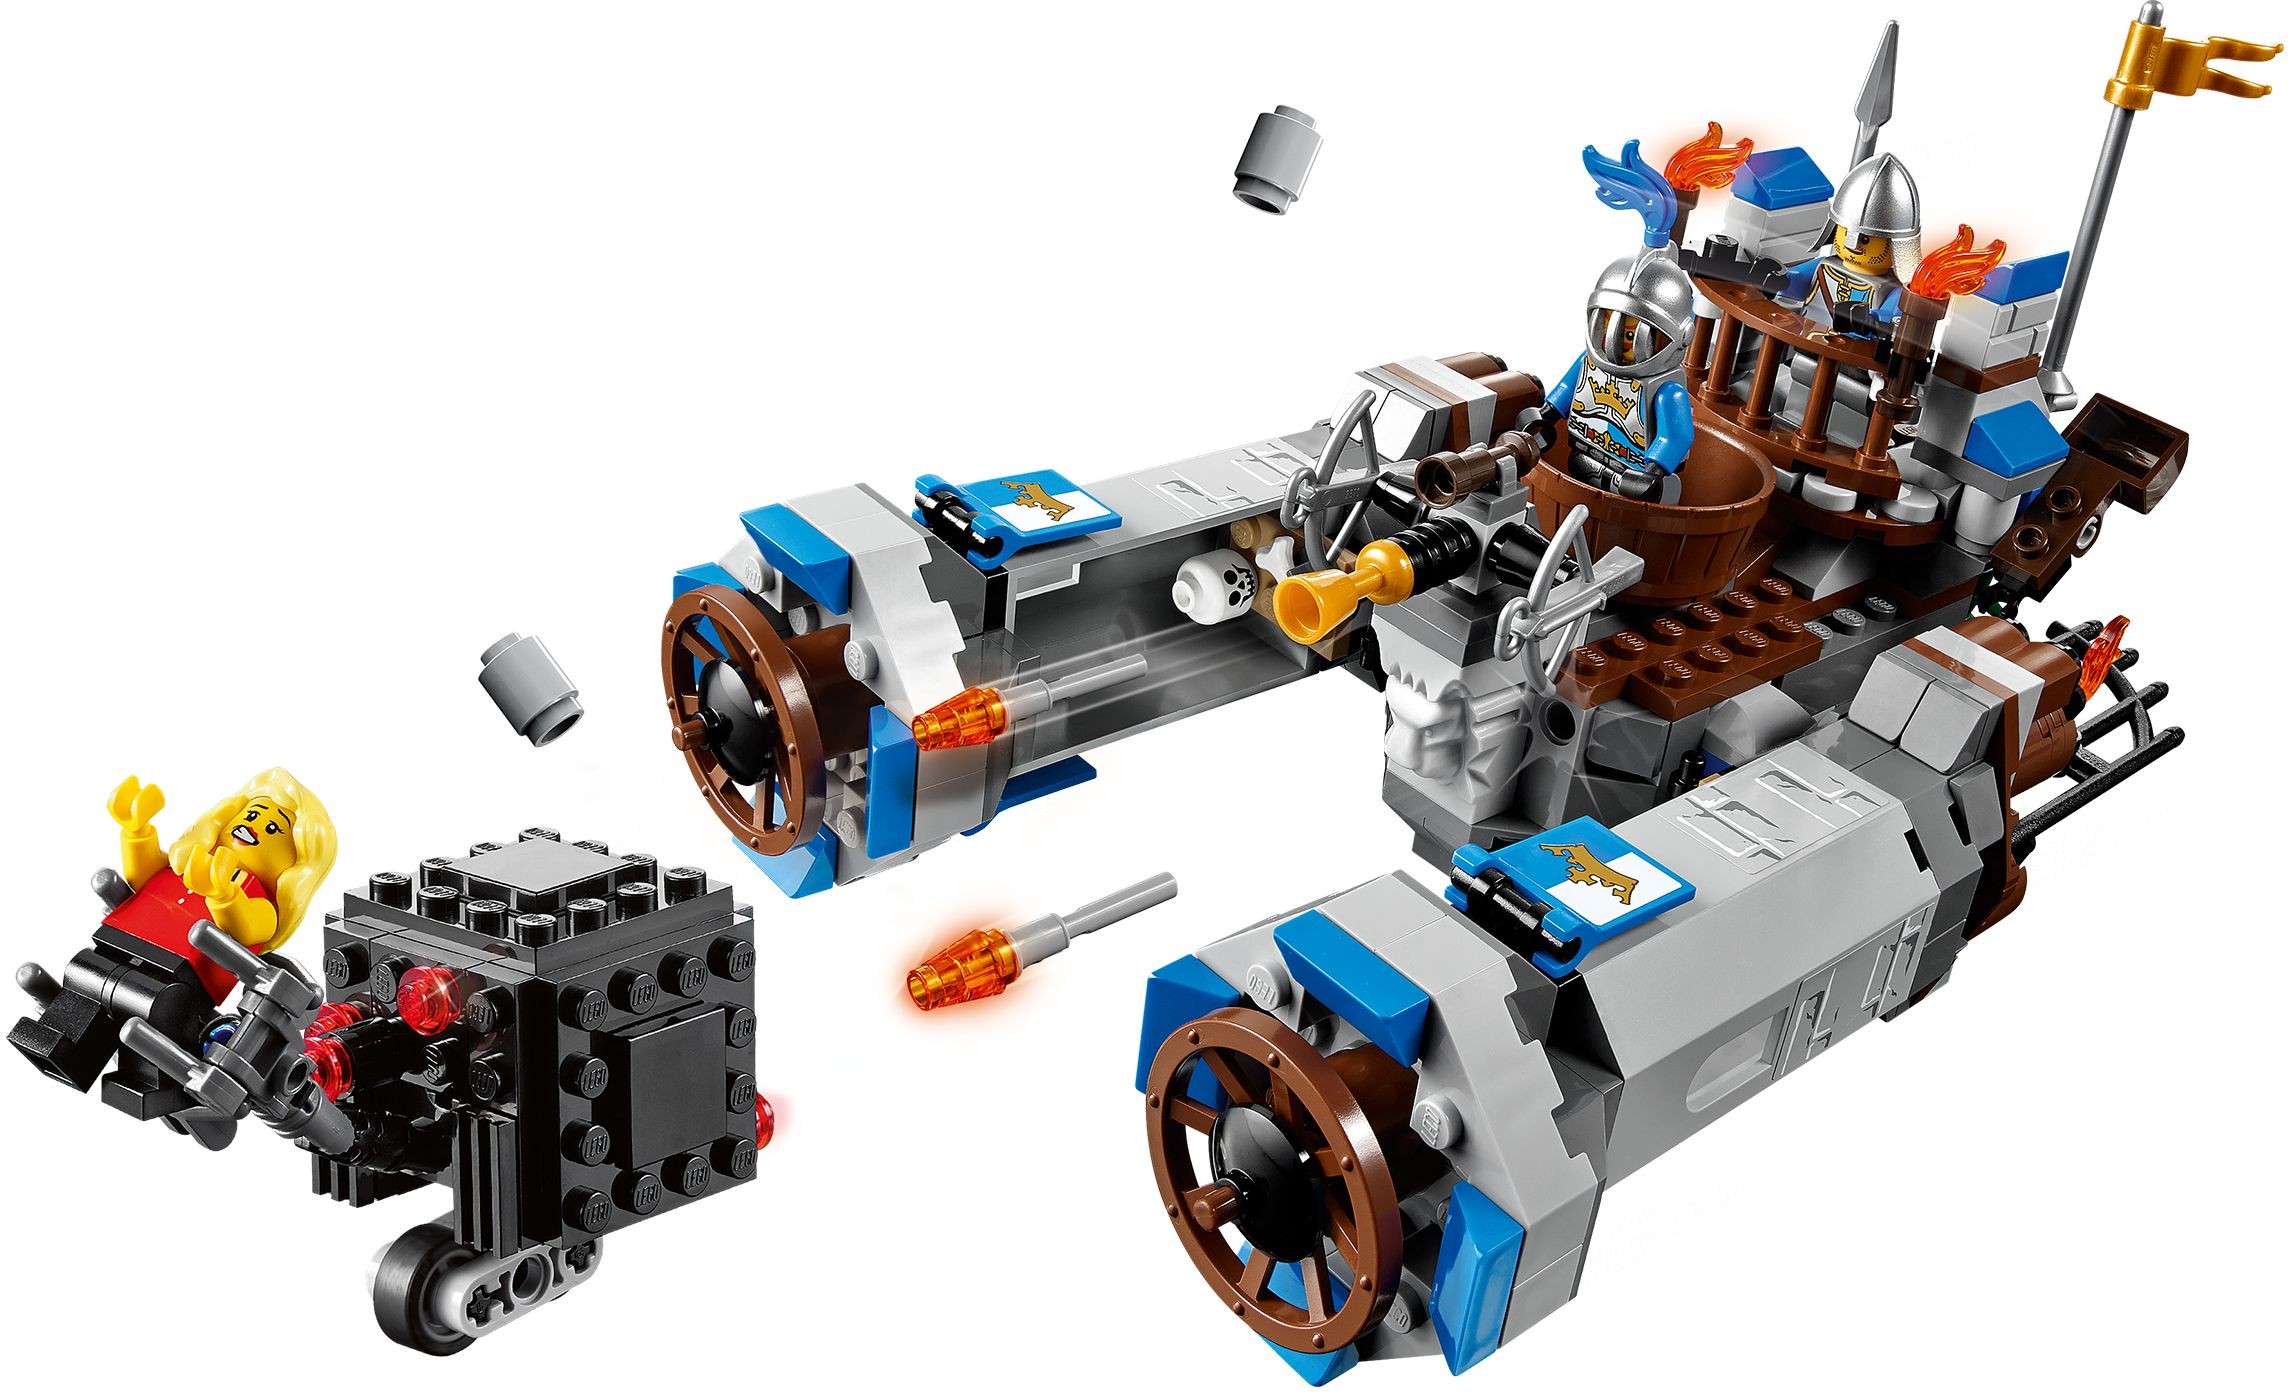
Due to the upcoming premiere of The Lego Movie, I have attained a fascination with the associated sets. The ones I am particularly interested in are the ones that rebuild into other things: the Ice Cream Machine (70804), the Trash Chomper (70805), and the Castle Cavalry (70806). These are perfectly regular sets, being an ice cream truck, garbage truck, and castle-- that is, until they are rebuilt into some rather extravagant flying machines.


The Trash Chomper (70805)

The Ice Cream Machine (70804)

Castle Cavalry (70806)


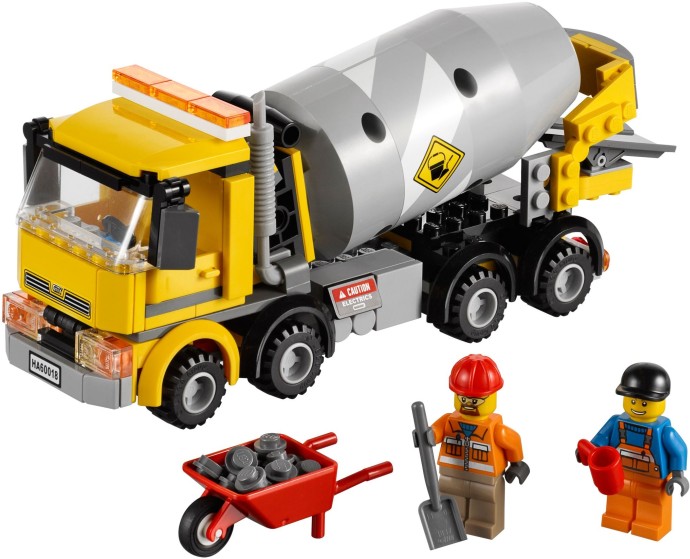
I was interested by the idea of rebuilding ordinary things into ridiculous aerial vehicles, so I reached for the one vehicle I could not possibly picture flying: my Cement Mixer (60018). By this point, I knew it was pretty much going to turn out awesome or completely stupid. However, being myself, I strive for the former.
The fateful Cement Mixer (60018-1)

After about an hour of fiddling with the limited array of pieces, I eventually came up with something I liked. I managed to build something that might pass as flight-worthy, while preserving the ability of the drum to rotate. I turned the wheels sideways to make jet engines, a concept I was first introduced to by the MX-41 Switch Fighter (7647) back in 2008. I couldn't resist adding a rotating turret, too. I myself was impressed by the end result. It was difficult due to the somewhat narrow palette of parts to choose from, but despite that setback, it turned out just fine in the end.

An Isometric View


Example of the turret rotating

Overhead view
All in all, I count this one as a success. It looks pretty good, and it was lots of fun to build. Sadly, due to my limited City collection (I mostly work in Space and Castle), I don't have any other vehicles to try this with. I do, however, have lots of resources to do something like the Castle Cavalry. In fact, I'd love to see what I could do with the monstrous Trolls' Mountain Fortress...
Anyway, this one was really fun, and I recommend trying something like it to see what happens. In the meantime, watch out for the new sets (and the movie, of course), and Happy Building!


Panning For Lego Gold on Ebay

During the three years in which I have been watching the internet for classic Lego sets, I have amassed a rather impressive haul for the amount of effort put in. I have managed to acquire over a dozen classic sets from seven themes, including Blacktron II, Aquazone, UFO, Arctic, Fright Knights, Rock Raiders and Ice Planet 2002. Altogether, I have only suffered two disappointments and had a few pleasant surprises.

The entirety of my Ebay collection

I now own over half of Blacktron II, including the Aerial Intruder (6981), Super Nova II (6832),
Galactic Scout (1694), Two-Pilot Craft (1479), Allied Avenger (6887), Alpha Centauri Outpost (6988),
and Space Landing Pads (6710). The Alpha Centauri Outpost was missing 36 pieces when I got it, but I
have cut that number down to 20 through yard sale visits and scrounging in my own collection. I plan to
round out the rest through Bricklink.

I picked up the Alien Avenger (6975) and Interstellar Starfighter (6979)
during the summer of 2013. Both are often pricey, the Avenger because of
its high ratings and the Starfighter because of its coveted Micromotor.
Though I have seen both go for over a hundred dollars, I paid less than that for
the two of them together. If you wait patiently, the good deals will come.  The
Starfighter even came with the original packaging, which is much sturdier than
what is used today.

The Crystal Explorer (6175) from Aquazone was missing nine pieces,
which I plan to round up on Bricklink with the Alpha Centauri Outpost pieces.

The Witch's Windship (6037) was my biggest surprise; It was listed as "complete",
but when it arrived I found it was still factory sealed, after more than fifteen years!


All in all, I have found many of the sets I once thought I would never own, with few casualties. Still high on my list are the Arachnoid Starbase from Insectoids, the Ice Sat V from Ice Planet 2002, the Neptune Discovery Lab from Aquazone, the Night Lord's Castle from Fright Knights, and most importantly the Mega Core Magnetizer from M:Tron. In the meantime, I wait patiently and enjoy the ones I do have.

Be sure to watch out for my upcoming post on tips for buying Lego on Ebay. Happy Building!

OYLC Part II: Sorting Sets

Welcome to Part II of OYLC (Organizing Your Lego Collection)!
This section covers sorting out complete sets from bricks. If you finish or if this is not what you're looking for, feel free to browse the other sections of the series:
Part I: Sorting Bricks
Part III: Sorting Sets (Special Cases)
Part IV: Storing It All

To perform this step properly, all of your Lego bricks should be sorted, as directed in Part I. Next, find all of your instruction books and pick one to sort. If you don't keep your instructions, all you can do is see what pieces you recognize and look up instructions online (Brickset.com is an excellent resource).

It doesn't matter what set you start with, though you may wish to start with a small one while you get used to sorting. When I first started, I made the mistake of beginning with a massive set, and I quickly abandoned it in favor of a smaller one (I eventually finished the first, though).

The sorting process is simple, but very tedious and painstaking. All you need to do is follow the instructions and build the set, searching for each piece one at a time.
Note: It will take FAR less time if you previously sorted your pieces as discussed in Part I.
 If you cannot find a piece, feel free to move on and find the rest. However, make sure to write down every piece you do not find, so you know what set the piece goes to once you find it (or replace it).

This is my Discovery Mission to Mars set (7469), which I just recently sorted after ten years of being incomplete.
Another way to do this is to gather all pieces found in the inventory in the back of the instructions. While it is much more difficult to keep everything straight, it does work. This method is discussed more in Part III (link above).

As with most steps, you have some freedoms. You may keep all of your missing part lists in one place, or with each set. (You could also not document them at all, but I don't recommend doing that). If you get tired of working on one set, you can set it aside and work on another. How you work is up to you, but you must know that this step takes the longest of all, and it won't necessarily be easy.
When a set is sorted- either completely or partially- I recommend storing it so it will be out of the way. You can use a bag, a box, whatever works for you. I have stored sets in everything from shoe boxes to Ziploc bags to Clorox wipe containers. As long as they are out of your work space when not needed, it works.You should be fine if you have your bricks and instructions in one place.

Most importantly, don't get discouraged! This step can be VERY FRUSTRATING. If you need to take a break, do so whenever necessary. Try watching a movie or listening to music while you work. Good luck and happy building!


Lego Winter Village

Now that Thanksgiving has passed, I deem it acceptable to put up Christmas decorations. My biggest contribution to the decoration at my house is my Winter Village Lego sets. My collection currently consists of the Winter Village Toy Shop (10199), Winter Village Bakery (10216), Winter Village Post Office (10222), and Winter Village Cottage (10229). Over the last few years, the collection has grown more and more spectacular. The Cottage is the newest addition, acquired only a month ago. I do not yet own the Winter Village Market (10235), since I buy one per year and I'm a year behind. This is due to the fact that the Toy Shop completely sold out in the first year of its running, so I couldn't get it until the following year. To this day the Toy Shop is extremely desirable, fetching anywhere up to two hundred dollars or more online.
The display as seen from a low angle

The Post Office (left) and the Toy Shop (right) behind the
skating pond and massive Christmas tree.

The Cottage, flanked by an army of skiers and carolers

I love the Winter Village sets because they have such a festive feel, and each contributes something new to the setup. Each set (with the exception of the Market, which isn't exactly a "building"), includes a yellow light brick, which casts light through the windows and further enhances the atmosphere. In its current state, the display has everything from a community tree to an ice skating pond, with swarms of child minifigures running about.
Saxophone and banjo players occupy the gazebo from the Post Office

Legs stick out of a snow bank on the ice pond from the Bakery,
which was advertised to include "7.5 Minifigures".

Presents from multiple sets adorn the Toy Shop's tree

The Cottage, with its shed, igloo, and snow plow

The Cottage's shed features a firewood pile and chainsaw

Skaters enjoy the pond while a minifig with a snowball prepares
to ambush his unsuspecting prey

I threw in the Christmas Tree Stand, which was a promotional
set for 2013

The horse-drawn carriage from the Bakery delivers a tree

Another shot of the Toy Shop's tree

Four skiers: two from the Toy Shop, two from the Cottage

The mail truck from the Post Office

All in all, I think the Winter Village sets are a very worthwhile investment. When displayed together, they are quite a spectacle and will enhance the festivity of any setting. However, you may not want to shell out for a Toy Shop, as they are extremely expensive. (The same thing happened with the modular buildings; I don't think I'll ever get Cafe Corner). Be sure to enjoy your holiday season, and happy building!